Payroll General Features
Create
Create feature for every major features should be different, create feature basically is the feature that allows user to insert new data to the table. The rules and validation of each major features also different. Here are the examples of create feature.
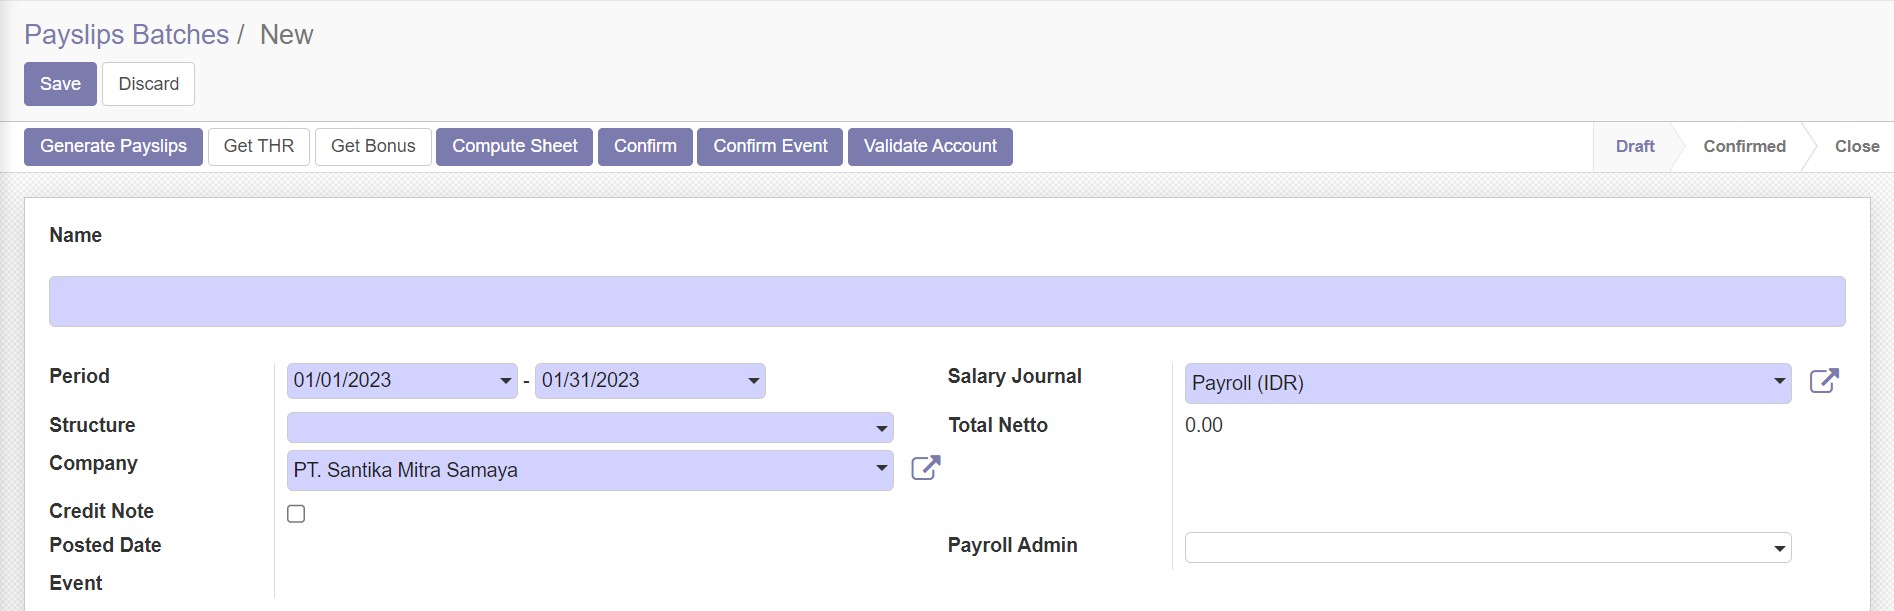
Create New Payslips Batches
Create New Remuneration
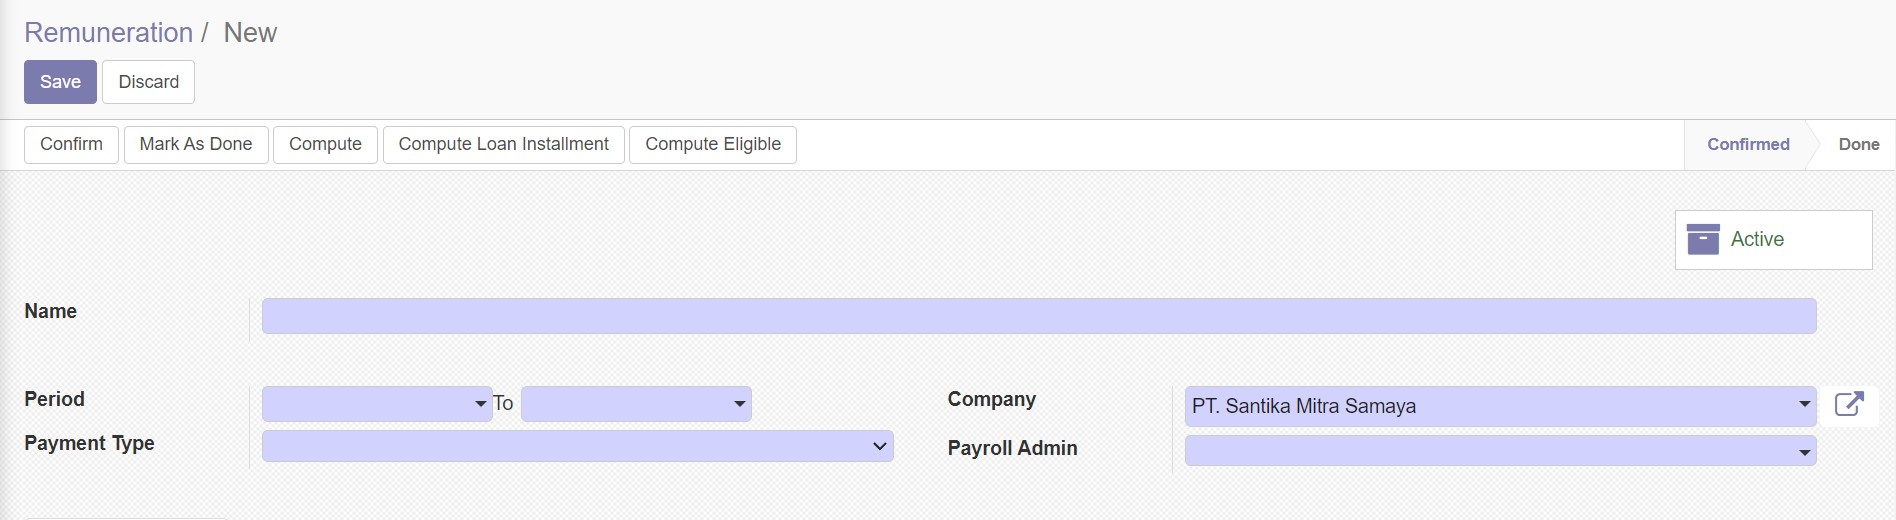
Save and Discard Button

Save button is functioned to save and insert new data to the table in the major feature. Whereas, the Discard button is functioned to cancel the process of creating new data in the table of the major feature.
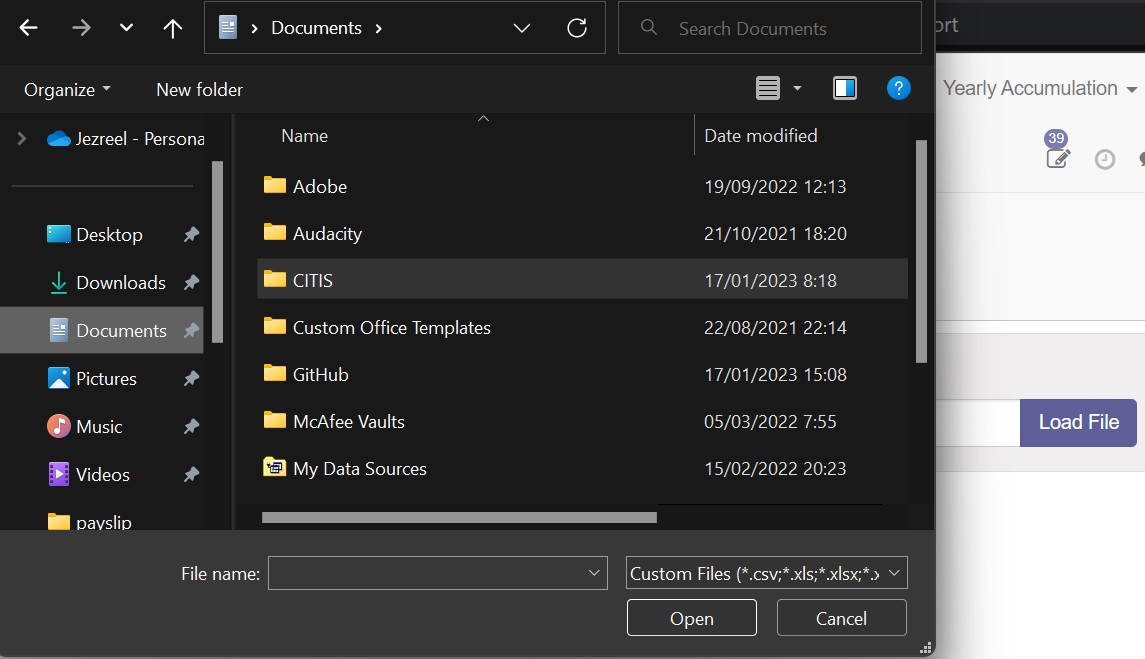
Import

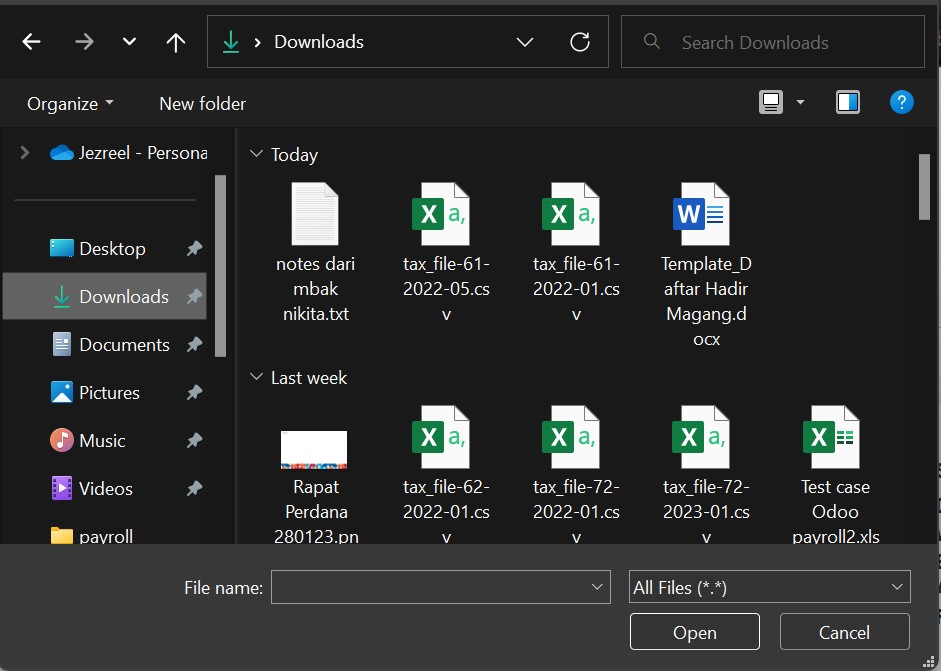
Import feature allows user to import files from the computer, so user does not have to create the data by using Odoo Payroll-KG create features. If user clicks the Load File button, then the system will directly access the file explorer in user's computer.
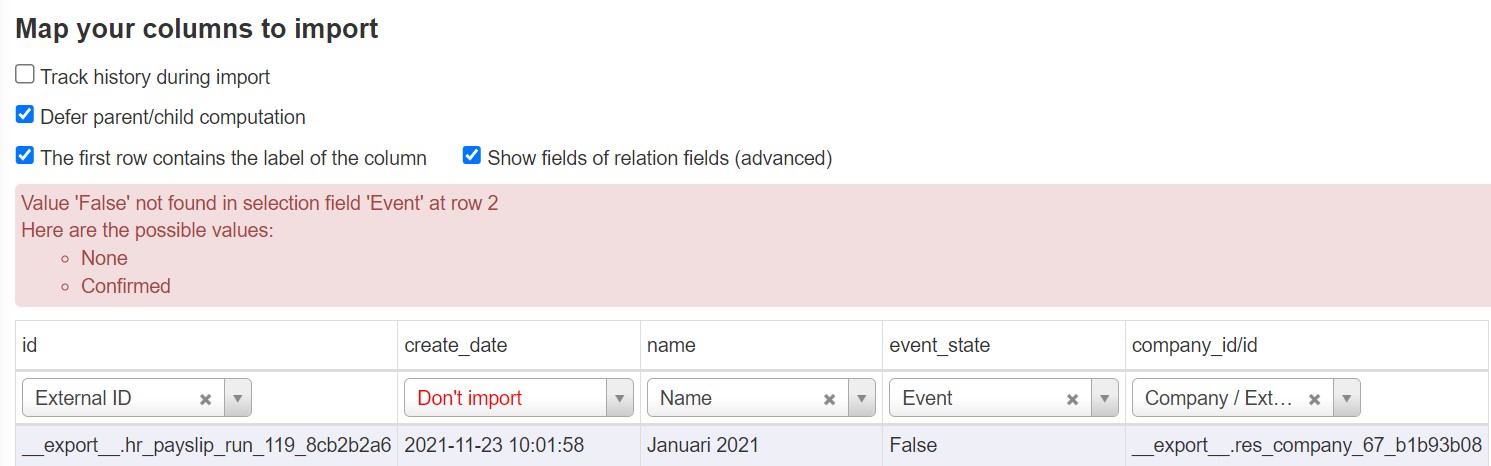
After users have inputed the file, then there will be fields validation to validate the field that want to be imported or which values that match the fields.
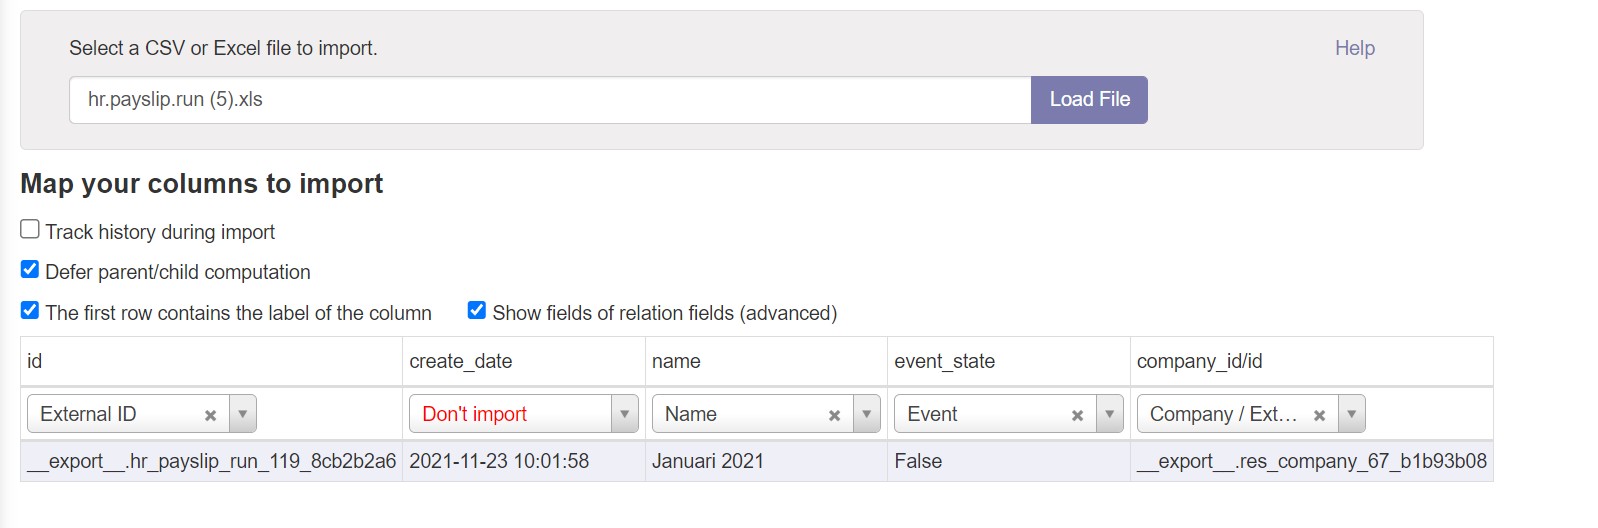
If there is something wrong related to the value, the system will display the warning when user tries to import the file.
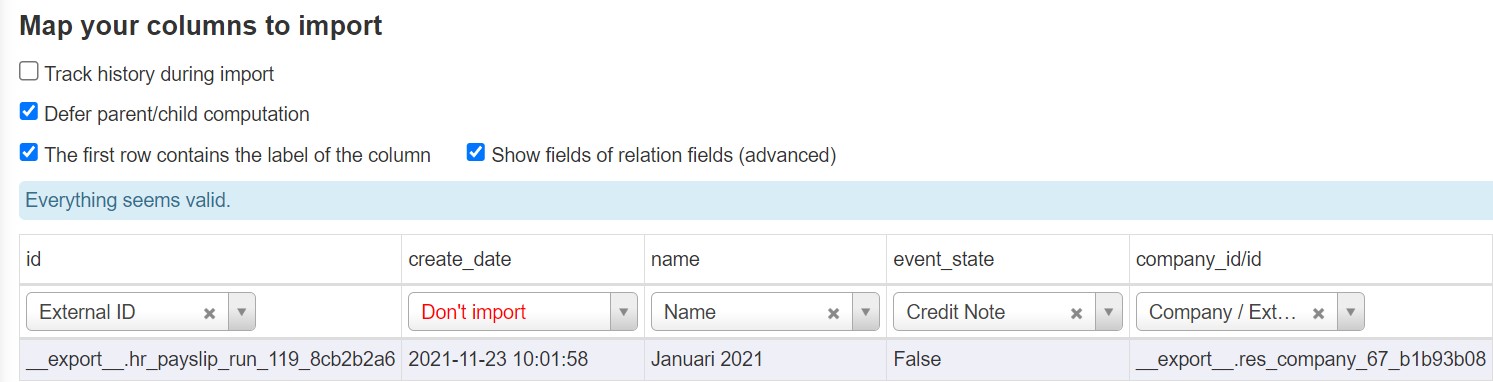
If all the values match the fields, and the test import button clicked, the system will display success notification. Test import button is functioned to check the validity of the imported values.
Export
Export All

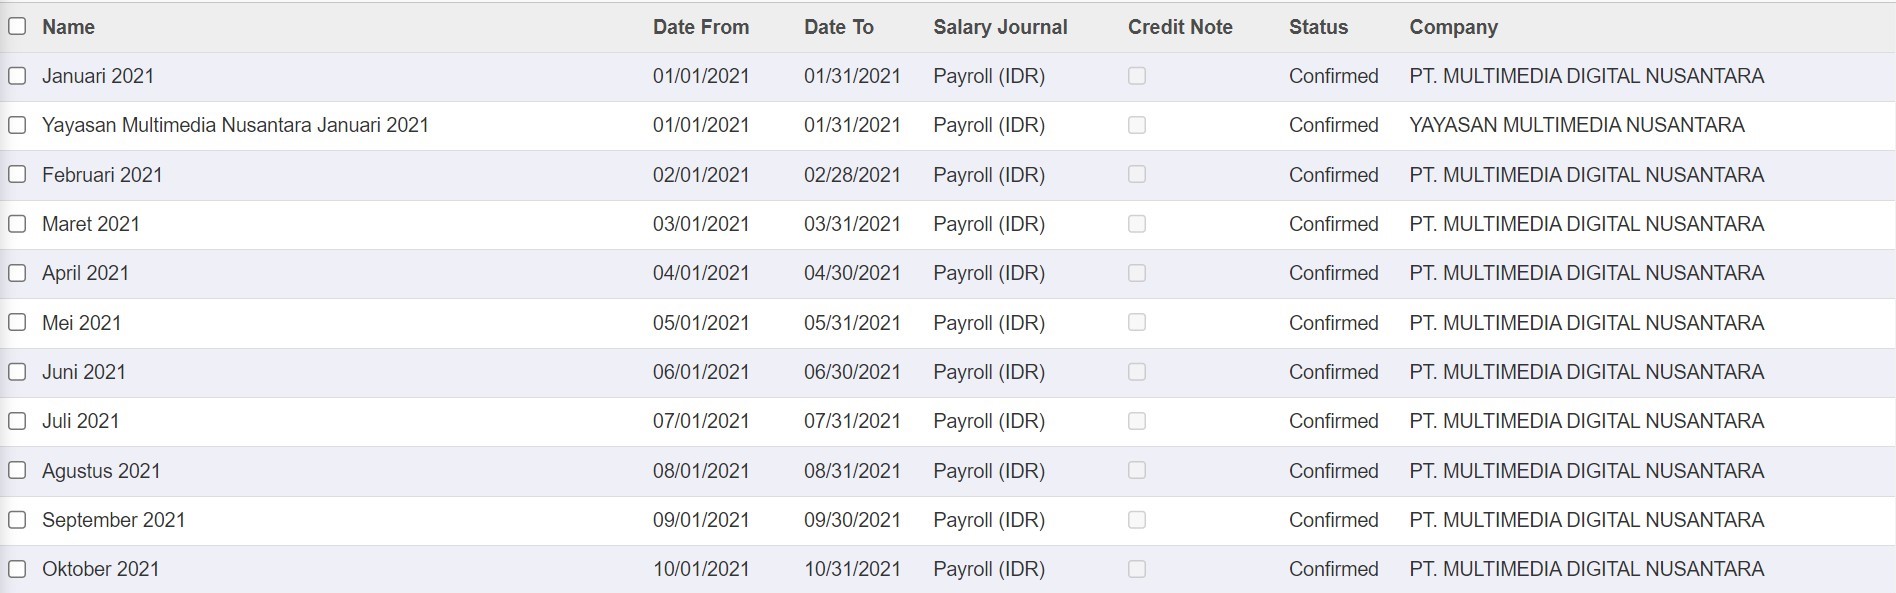
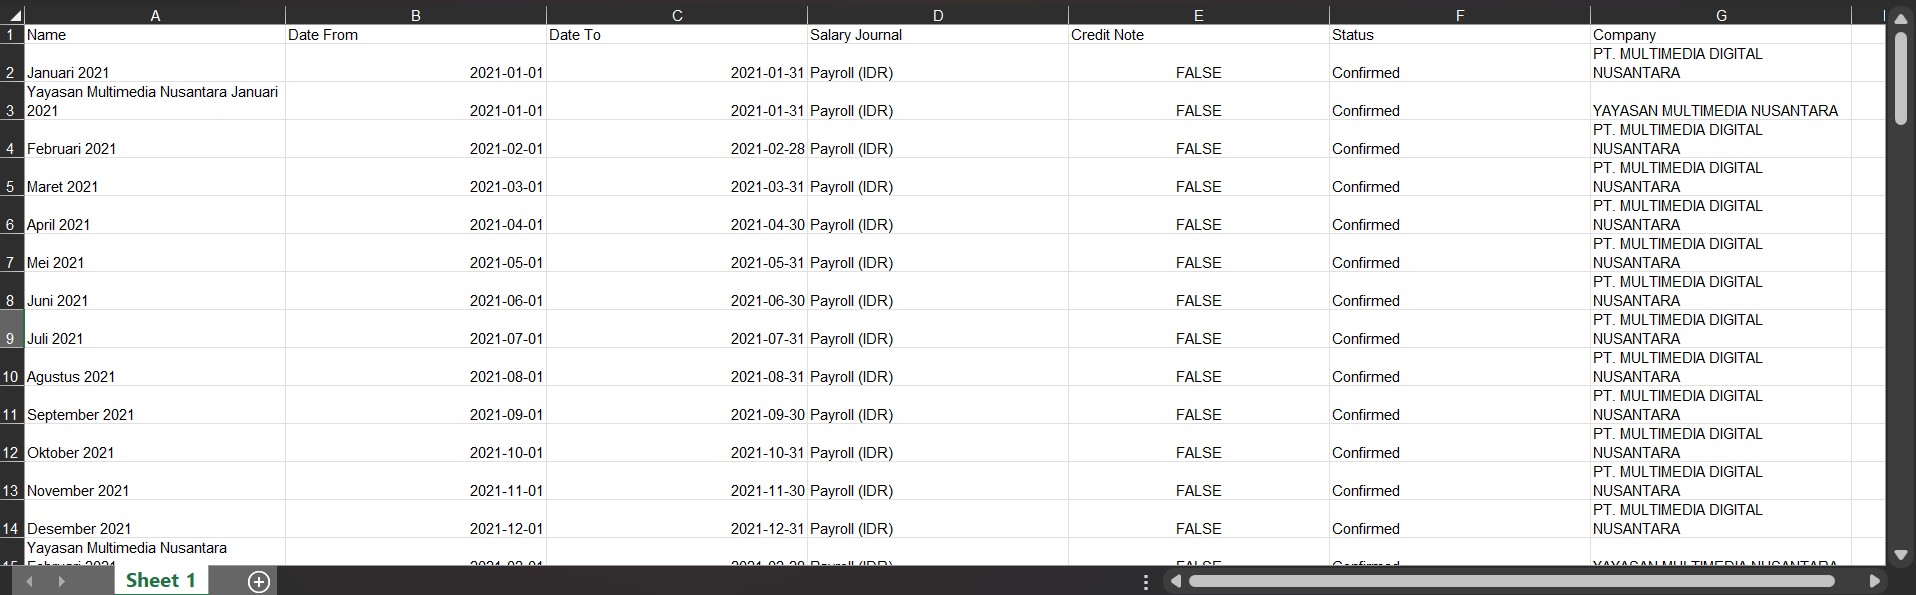
Export feature is functioned to export the data in the table shown so, User is allowed to get the xlsx format of the data. The picture above shows the downloaded exported file of payslips batches data table. Here is the comparison of the odoo table preview and the result when the file is opened in Microsoft Excel.
Export Specific Data

If users only want to export one specific data or one row of data, they can select and check the checkboxes of the list item and the action dropdown button will appears in the dashboard.
-ed77f4224c6f70610e199e0e6361af92.jpg)
This action button allows user to export or delete the selected data. If user selects the export option, then the system will display the "Export Data" Modal that allows user to customize their exported file.

The "Export Data" modal has several options such as "Export Type" and "Export Format". Furthermore, there are some features that allow users to choose the data fields which they want to export.
Export Type "Import-Compatible Export" means the data fields in the database that available for export will be the only data that can be imported from the other sources. Whereas the "Export All Data" Export Type means all data fields in the database that cannot be imported by the users will also available to be exported by users. Furthermore, users can choose the export formats. The file that is exported could be generated in CSV format or Excel format.
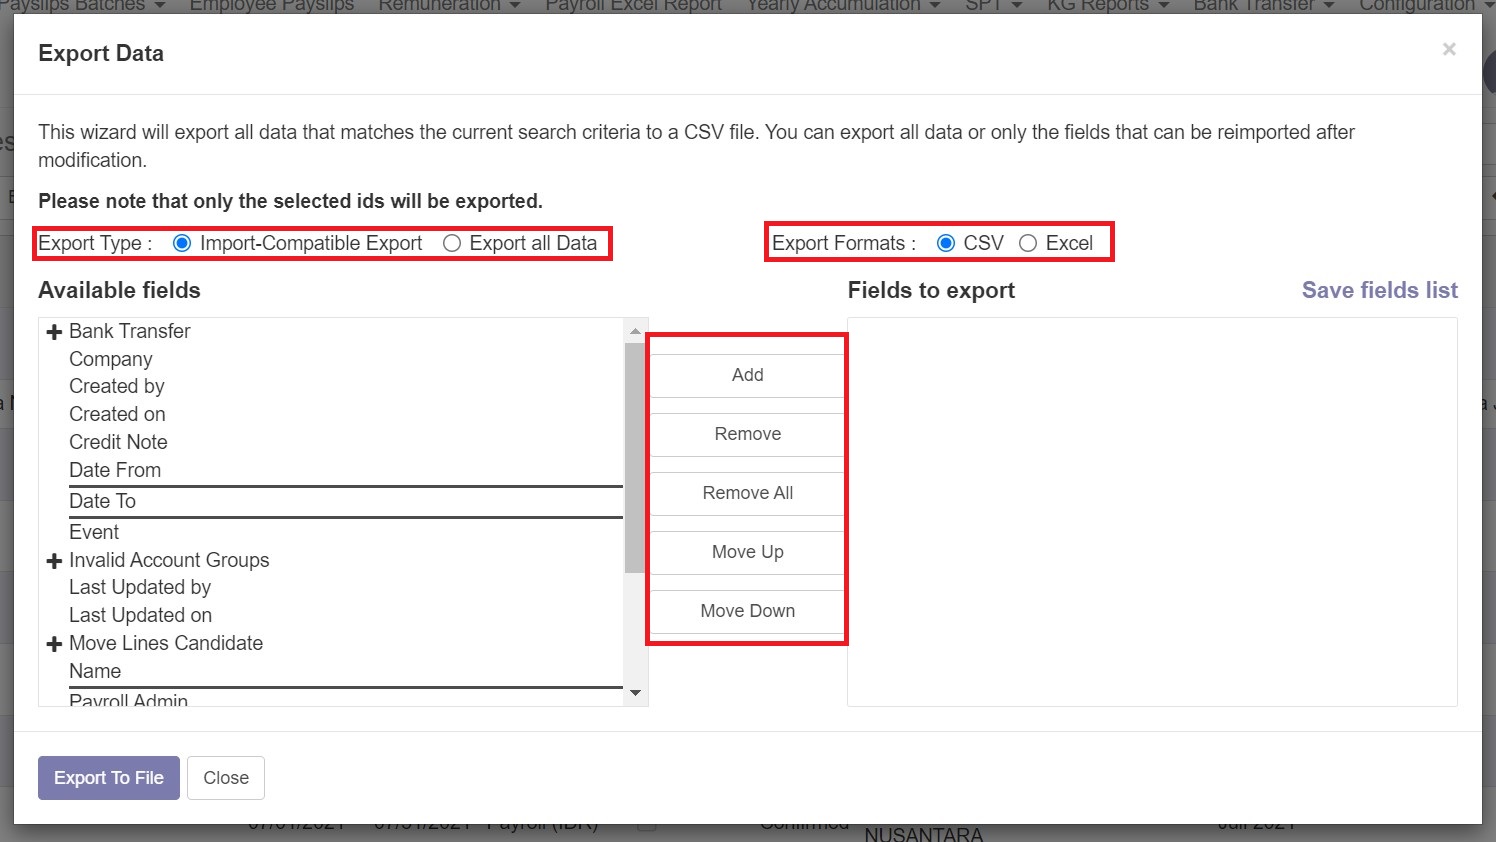
Users could add the fields from "Available Fields" to "Fields to Export", remove or remove all the selected fields in "Fields to Export", and arrange the positions of the fields in the file by using "Move Up" and "Move Down" features.
The process of customizing the data will be shown in the video below.
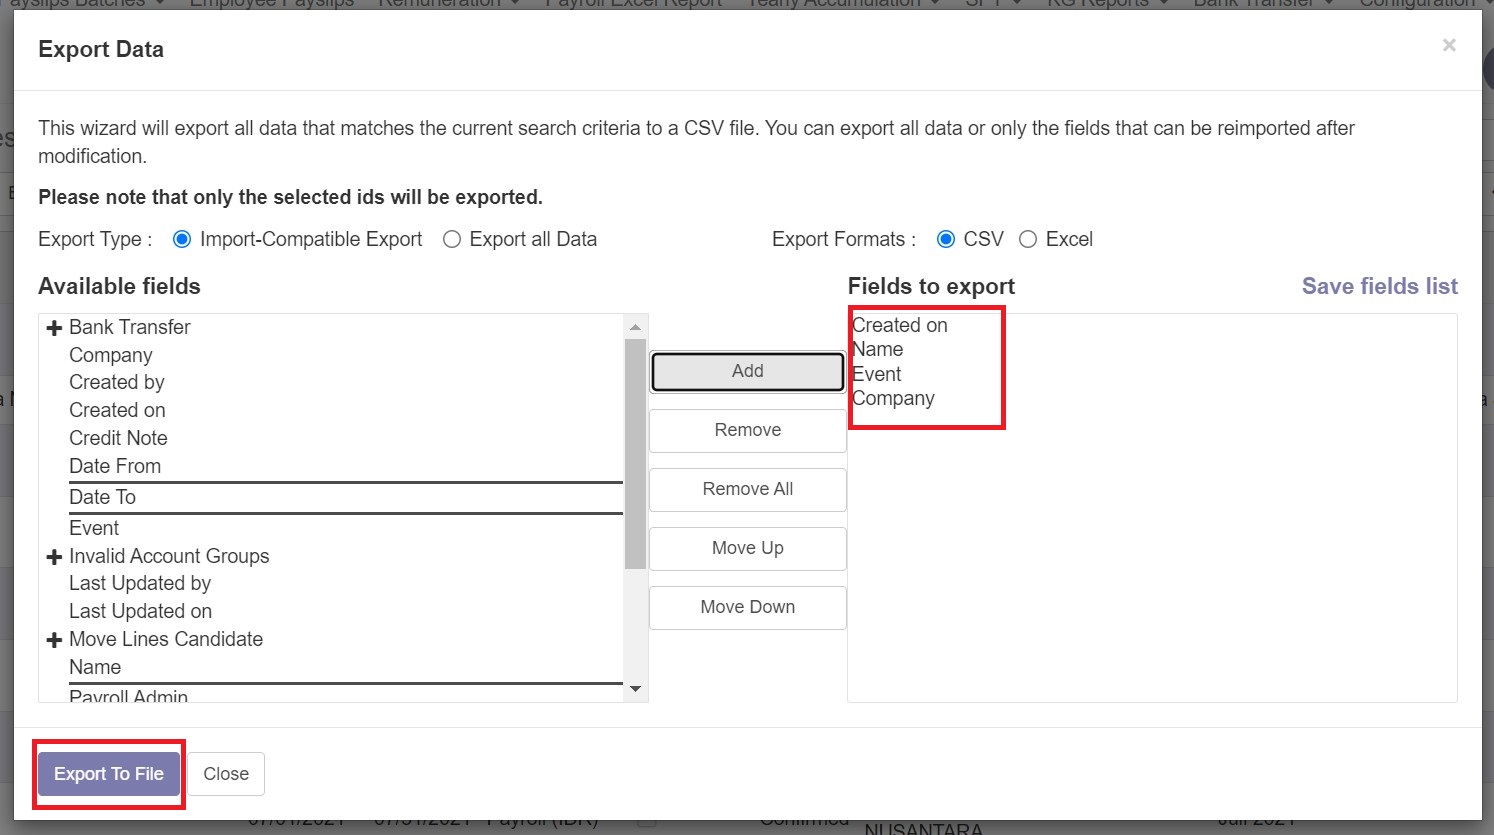
The exported file will only contain the data id and the fields which are selected in "Fields to Export". By choosing the "Export to File" button, the system will generate the file and automatically download the file. Here is the display of the exported file.

Edit Button
-c2ef9761580425d8d9d577fbd6b660d0.jpg)
This is the condition where the edit button is activated. It allows user to edit the data from the table shown.
-019e1736ab719d1f4bc4f3053f0dea34.jpg)
Whereas, this is the condition where the edit button is inactive and user cannot edit any item in the table shown.
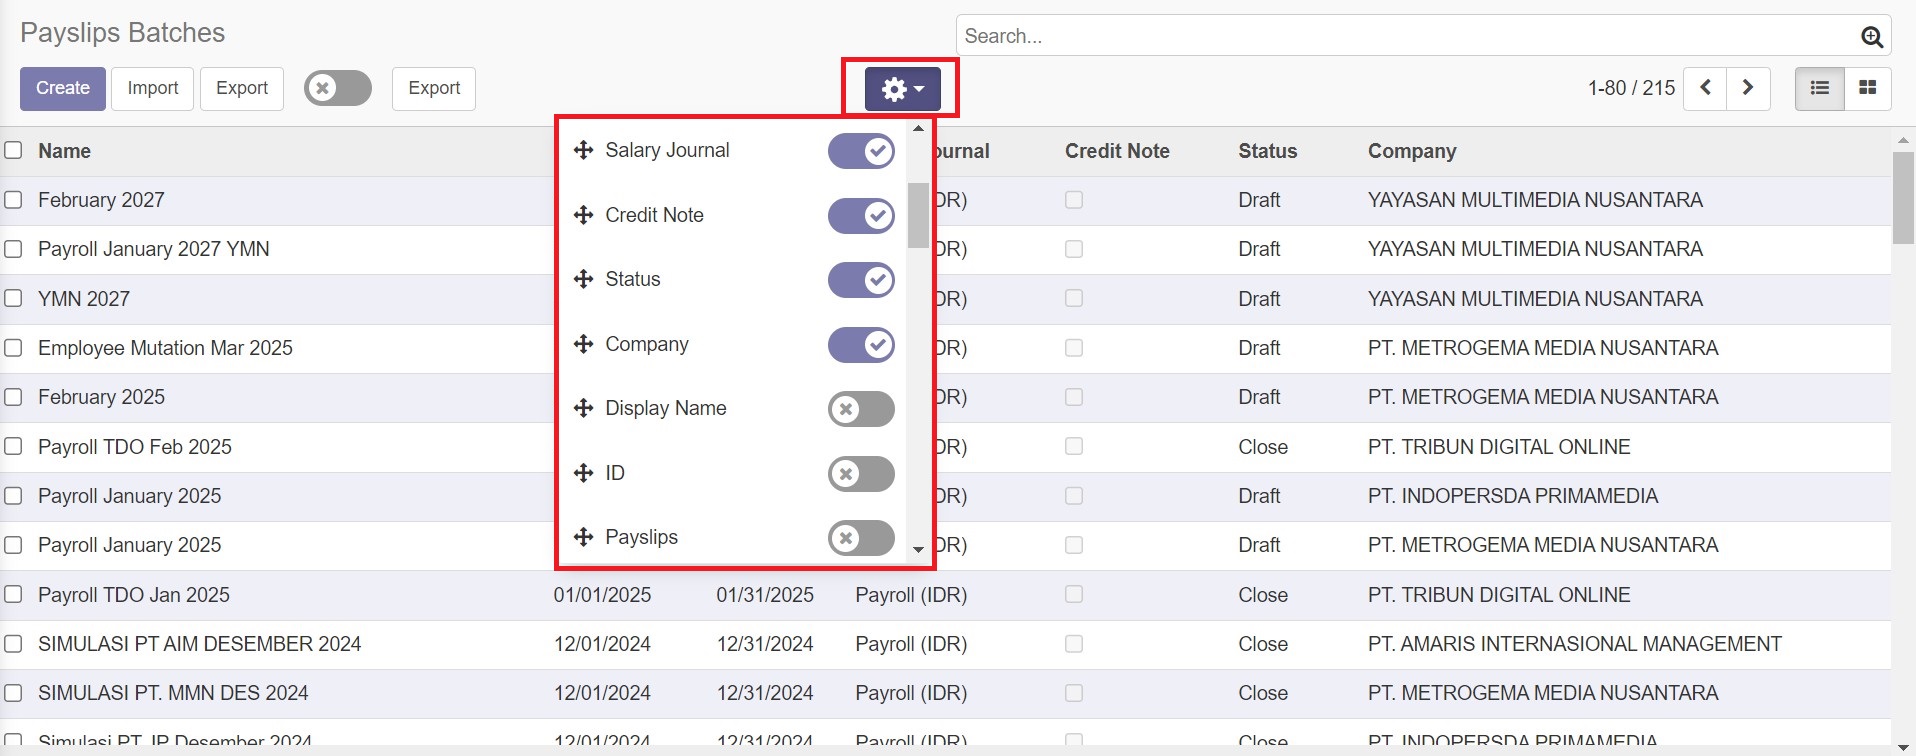
Fields Filter
This filter allowed user to choose which fields that they wanted to be shown in the dashboard. Here is the difference between the unfiltered preview and filtered preview.
Before
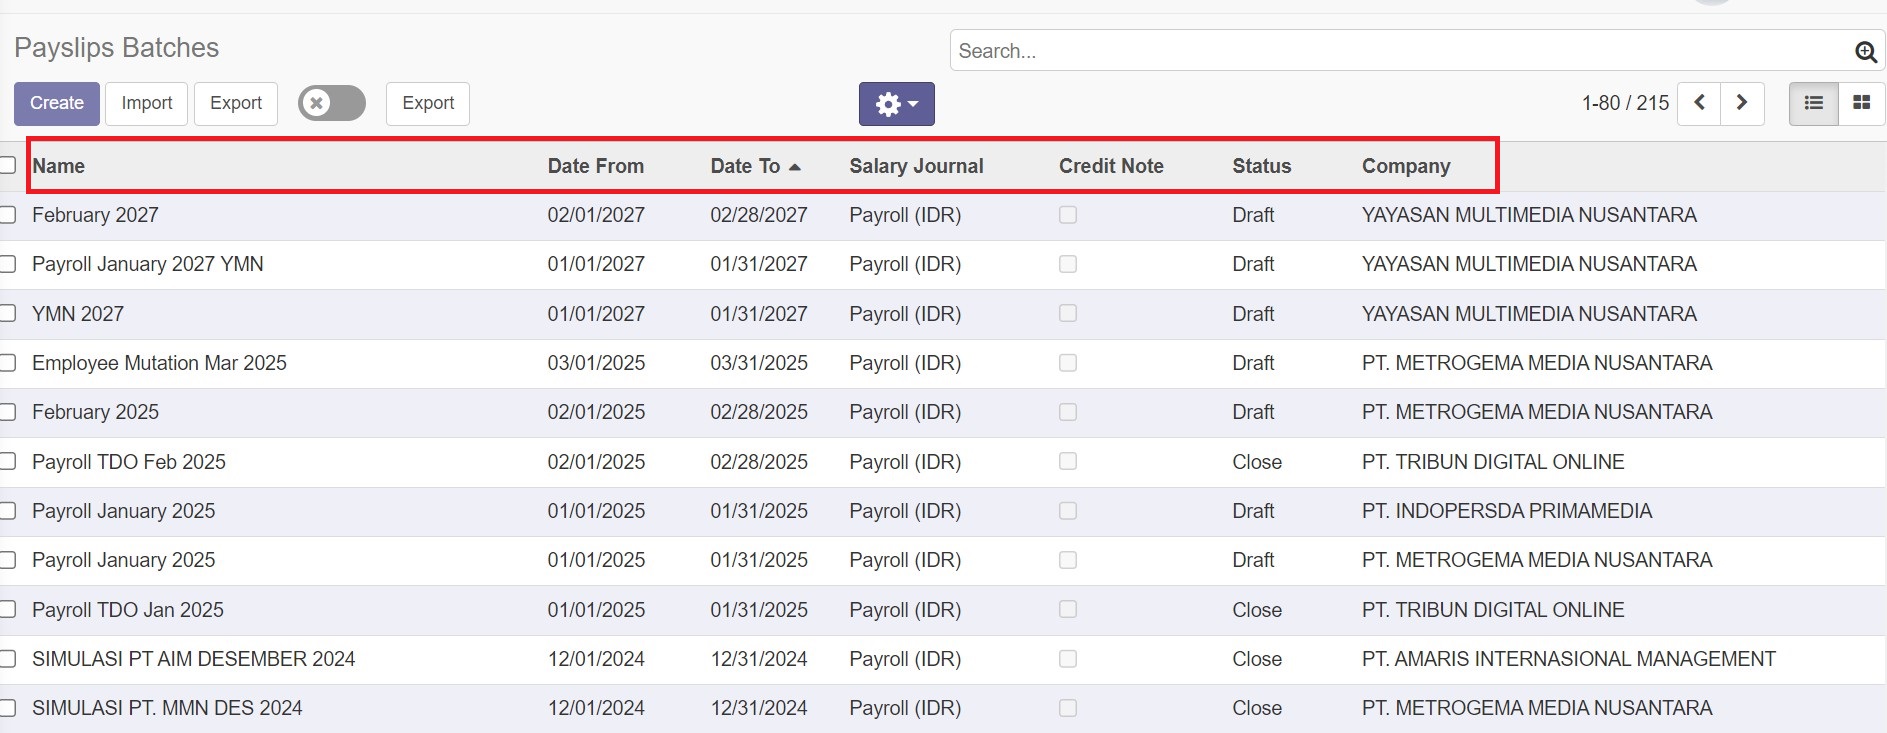
After
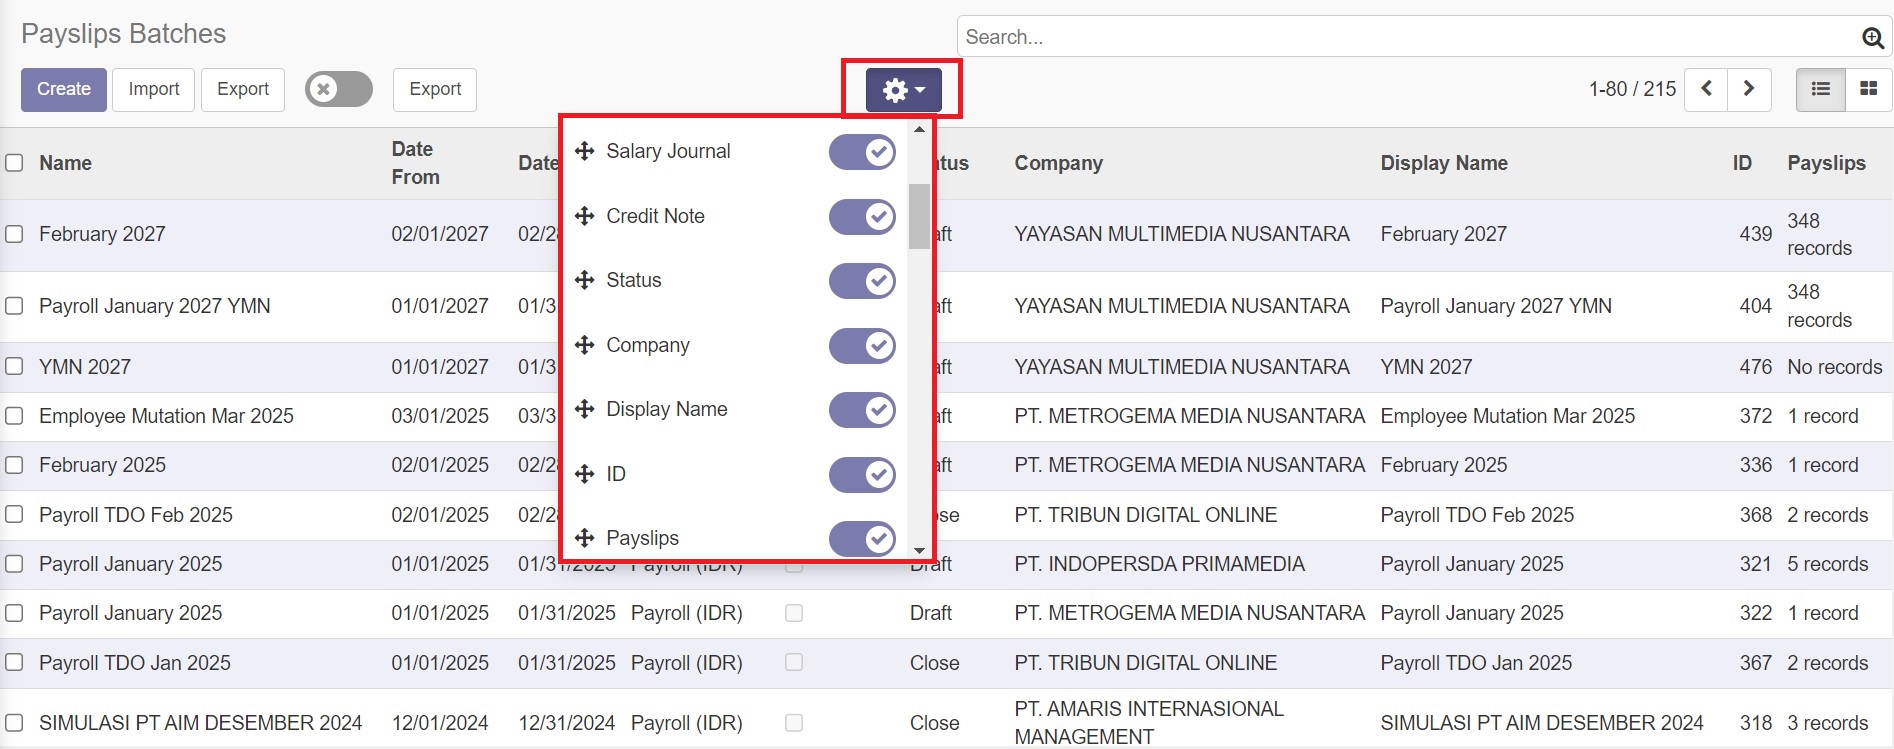
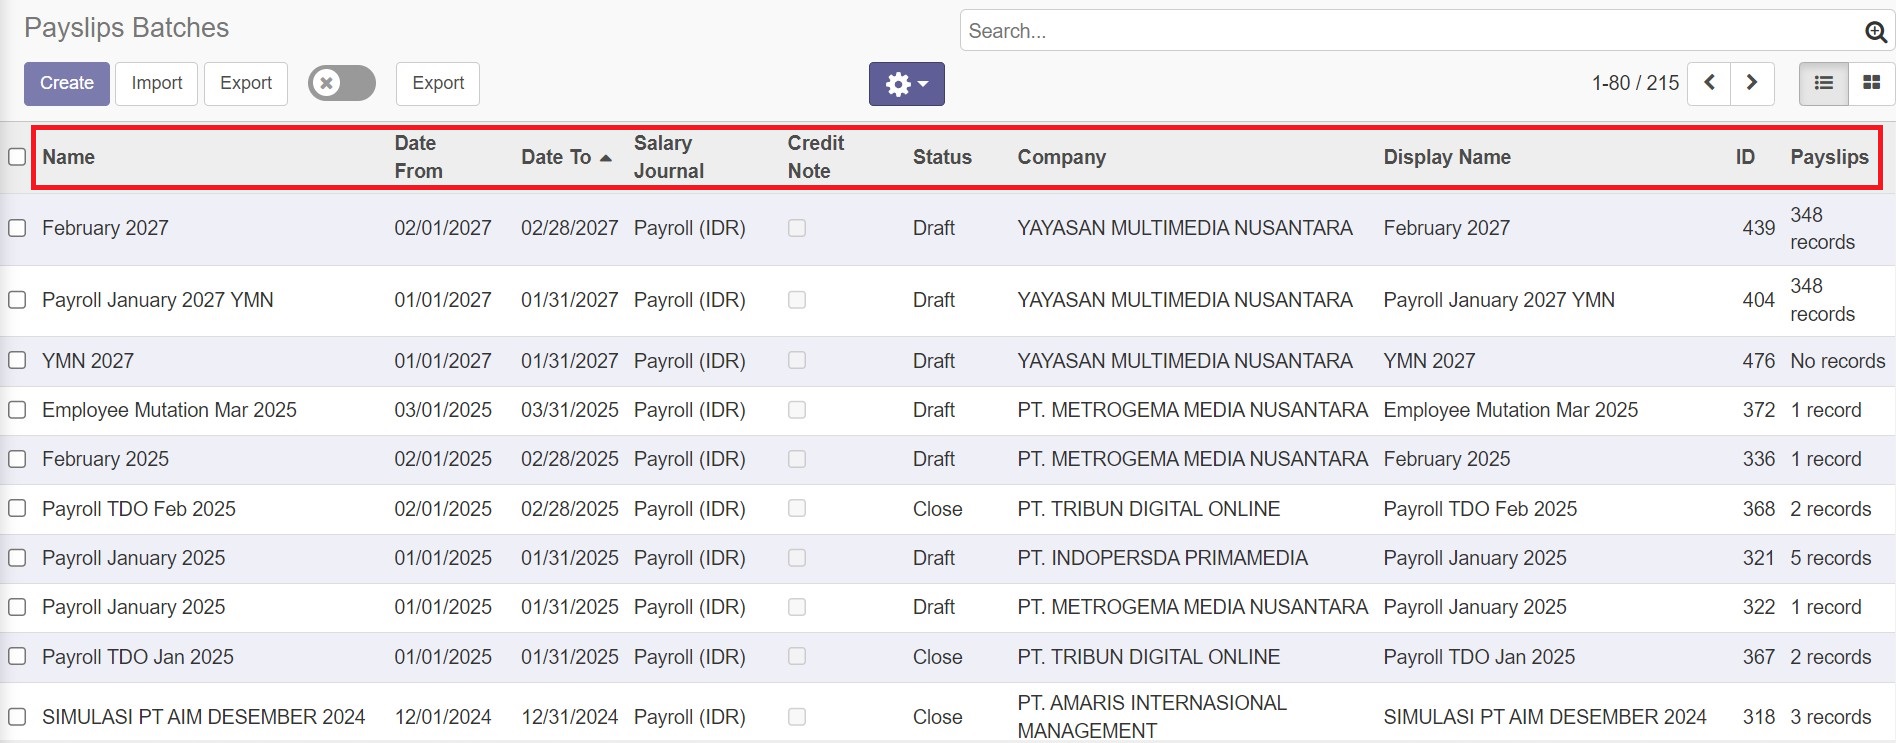
Table View Mode

There are two view mode available in Odoo Payroll - KG. They are List View Mode and Grid View Mode. Here are the preview of both view mode.
List View Mode

Grid View Mode
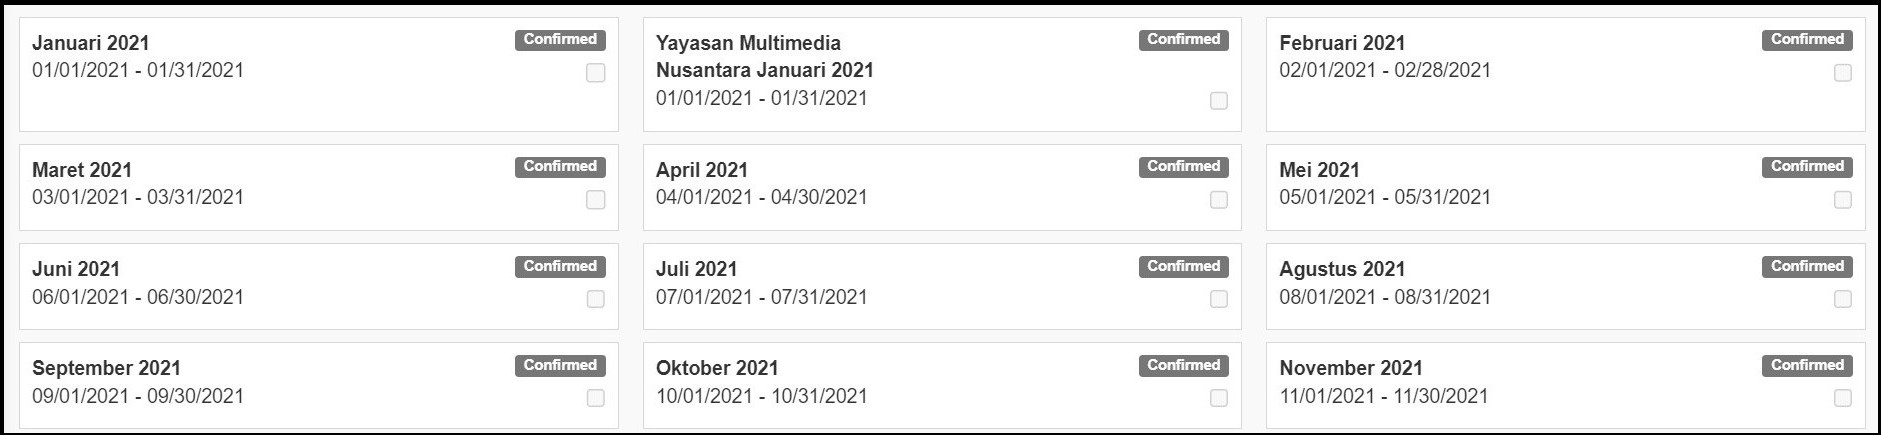
When the Grid View Mode activated, the Export, Edit button, and Fields Filter will be unavailable.
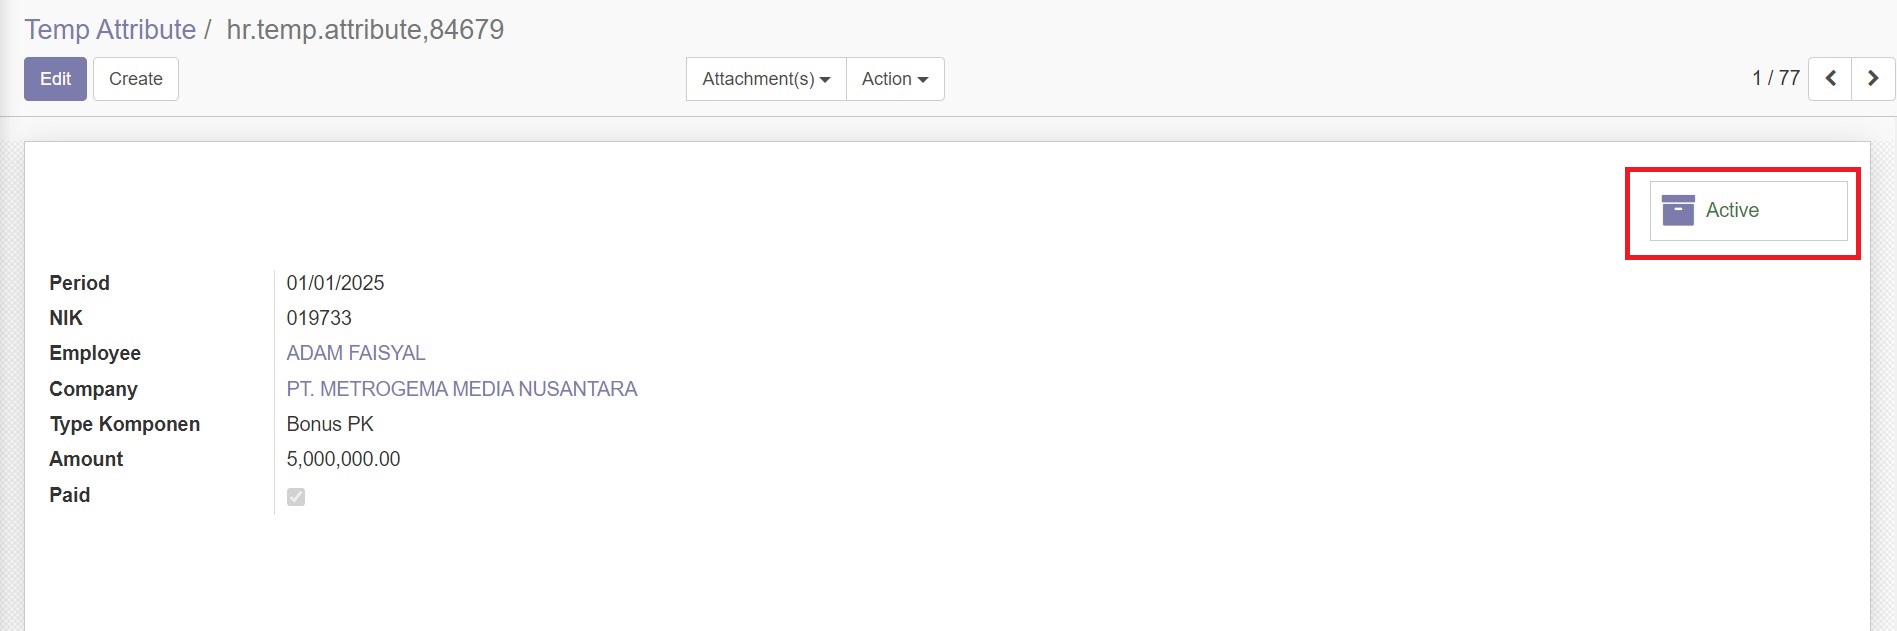
Active Status

The Active Status shows that data should be or should not be processed. If it says "Active" then the data should be processed by the system. On the other hand, if it says "Inactive" then the data should not be processed.
Here is the positioning of active status, to change it to inactive, user can simply click the active status and deactivate it.
Attachment(s)

Attachment(s) button is functioned to attach files into the data details page. When the button clicked, the Add button appears and users can choose which files that wanted to be attached.


After the file attached, there will be counter that shows how many files attached in that data details.